The Painting Process
| Site: | New Zealand Moodle Moot |
| Course: | H5P for new users |
| Book: | The Painting Process |
| Printed by: | Guest user |
| Date: | Saturday, 27 April 2024, 12:16 PM |
Description
Introduction to the painting process
The painting process
In preparation for painting an interior wall, there is a correct process to be followed. Following the correct process will ensure you have all the tools and materials you need to complete the job to the highest quality and in the most efficient time.
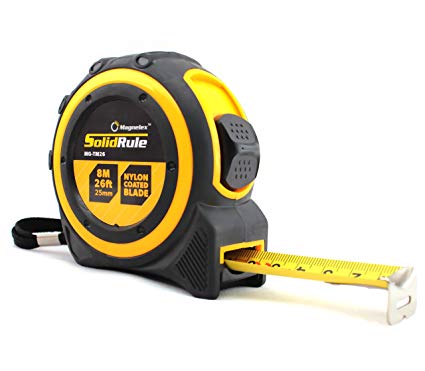
Step 1: Measure the area
The first thing to do for any painting job is to measure the area to be painted. Doing this will let you calculate the materials you will need, how much they will cost and the time it will take to complete the work.
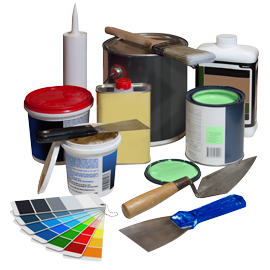
Step 2: Gather your tools
Assessing the job and knowing what tools you will need is an important step in the process. If you don't have all the tools you need before you begin, the job will take longer than you expect as you will have to buy or find the tools you need as you're carrying out the work.
Step 3: Buy the paint
Once you have measured the area and gathered all the tools you will need to complete the job, the next thing to do is buy the paint.
You will need to calculate how much paint you need from the measurements you took of the area. Watch this short video to see how it's done.
Notes:
- The calculation process in the video shows how to calculate the 'area' of the room.
- The area of the room is calculated as follows: Length x 2 plus Width x 2 = total. The total of these measurements is then multiplied by the height of the room.
- The video shows the measurements in feet but you can measure the room in metres and centimetres, using the same calculation process.
- Feet and inches are imperial measurements.
- Metres and centimetres are metric measurements.
Check your learning
Drag and drop the order of the calculation process to measure the area of a room.
Your turn
Now that you know how to calculate the area of a room, have a go at answering the following two questions, using the measurements provided.
Step 4: Prepare the painting area
There are a few steps involved in preparing the painting area:
- Lay your dust sheets.
- Repair any damage on the area to be painted.
- Fill any holes and allow filler to dry.
- Sand the walls, expecially where you have filled holes.
- Clean the walls and remove any debris from the dust sheets.
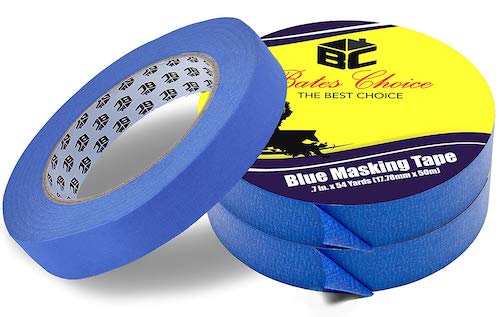
- The final step in the preparing the area for painting is to tape any edges.
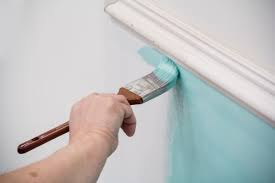
Step 5: Paint the edges
Good preparation is the only way you will achieve a professional finish. If you don't do a good job of preparing the area for painting you'll be disappointed with the finished result.
Now that you have fully prepared your painting area, it's time to start painting.
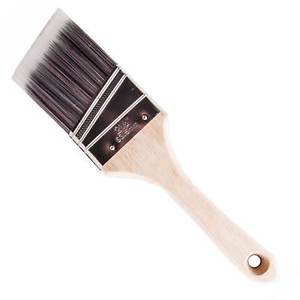
The first part of the painting to complete is to paint the edges. This means painting around door and window frames, above skirting and below coving. It's important that you use a good quality cutting in paintbrush and that you take your time.
 |
 |
|---|
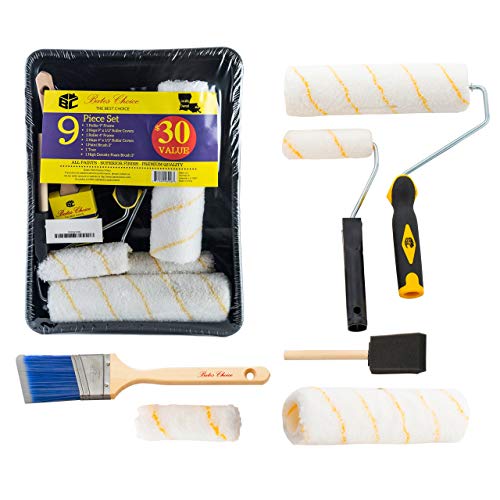
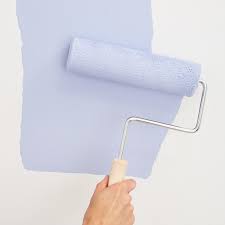
Step 6: Roll the walls
The final part of the painting process is to roll the walls. Again, it's important to use a good quality roller and take your time.
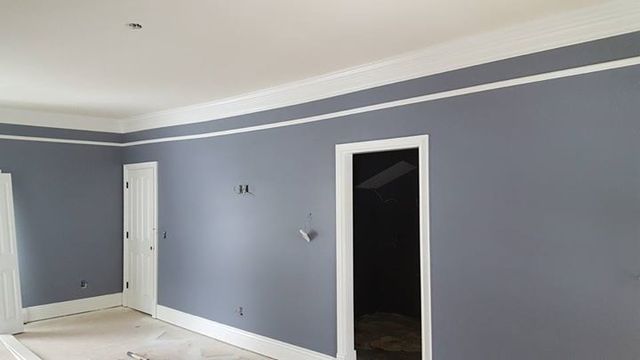
Step 7: The final task
Having followed the correct preparation and painting processes, it's now time to step back and admire your work. Ka pai!
Once you have taken a moment to admire your work, there's one final task to be completed - the clean up!
The more care you take when cleaning your painting tools and equipment, the longer they will last and the more use you will get from them. This will save you lots of money, which is why it's so important to do it properly.